Installing Typescript
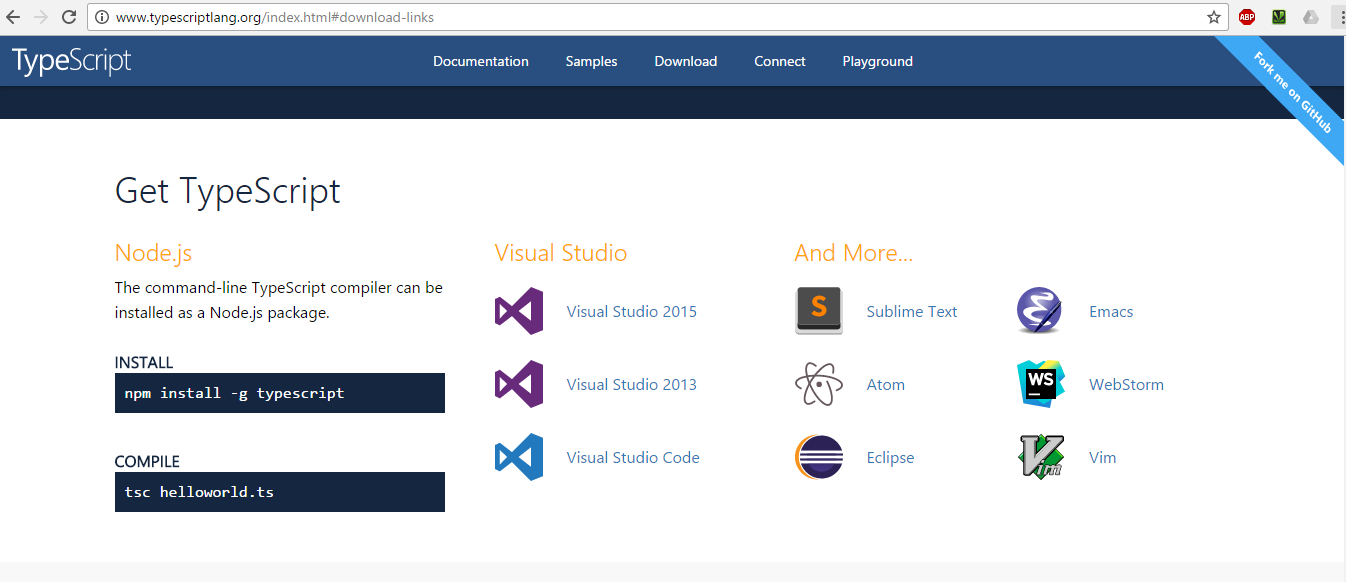
There are a lot of option available to install Typescript. But the best option is go to http://www.typescriptlang.org. Then under the website click on Download button on the top.
You will find a screen like this below.
We will install Typescript for Visual Studio Code and Node
Setup Typescript for Node
Step 1: Make sure Node is install in your machine. If Node is not in your machine you can get Node from following Website https://nodejs.org/en.
Step 2: Open Command Prompt and install Typescript using NPM. Just type command npm install -g typescript and press enter.
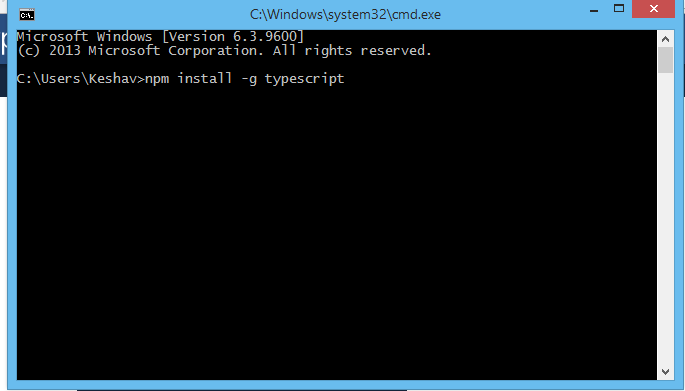
Step 3: After the installation is complete you can check Typescript version. Type following command in same Command Prompt tsc --version

Integrate Typescript with Visual Studio Code
Set up the task configuration: To do this open the Command Palette with Ctrl+Shift+P and type in Configure Task Runner, and press Enter and select.
Choose Template: After this Visual studio code will ask to choose diferrent
https://code.visualstudio.com/Docs/languages/typescript Step 2: Create tasks.json
Setup Typescript for Visual Studio Code
Step 1: Make sure we have already installed visual studio code in our machine. If not we can download one from following website https://code.visualstudio.com
Step 2: Once Visual Studio Code installed in your machine. Open Visual Studio Code
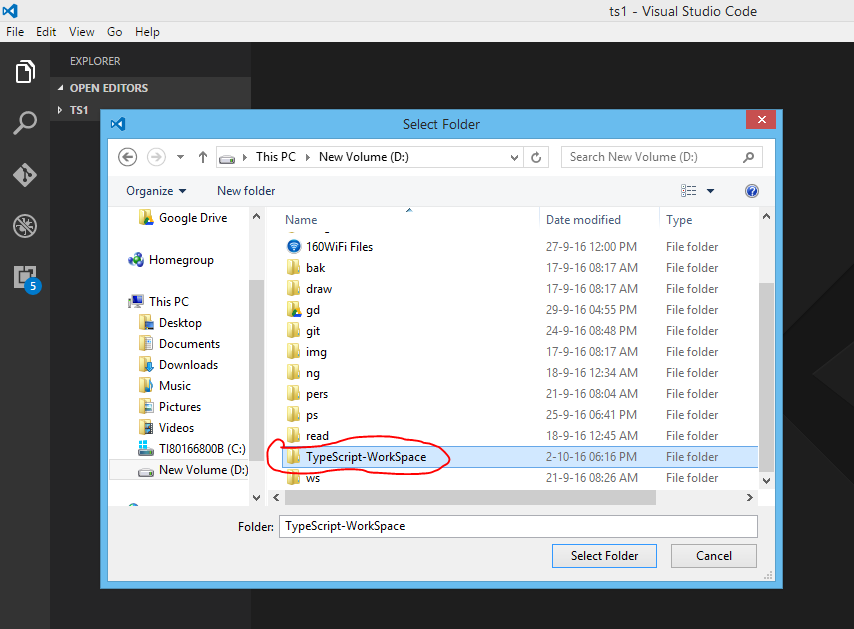
Step 3: Create Directory D:\TypeScript-WorkSpace
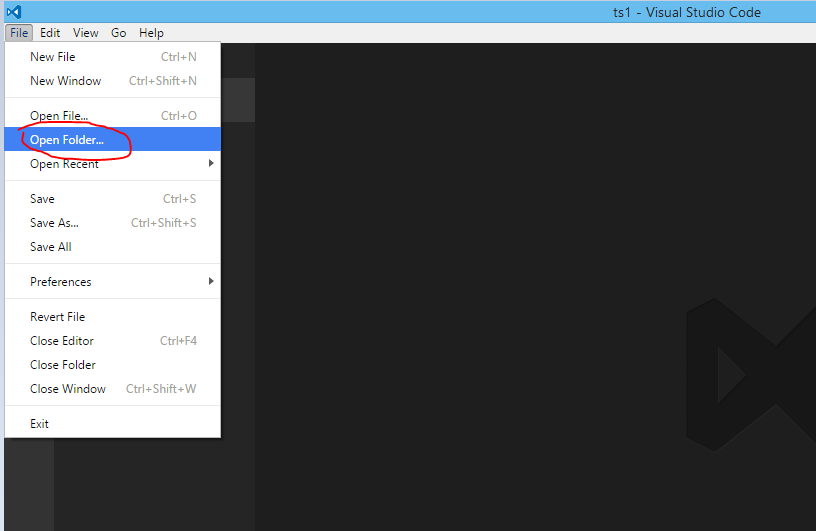
Step 4: Open Visual Studio Code and Under Visual Studio Code go to File > Open Explorer
Step 5: Select the folder which we have created earlier in step 3
Step 6 Create new Typescript file called HelloWorld.ts
Point to the directory we have created just now.